
Should I Paint or Stain My Moldings or Woodwork
This question boils down to a question of design taste. While the current trend is that a large percentage of windows, doors, trims and even cabinetry in residential projects are painted, we’re seeing that our projects nearly always include some accents, millwork or design details with stained and finished natural wood. Since this decision is largely personal taste, the purpose of this article is to address some practical constraints and factors to you help you make an informed decision.
AN INTRODUCTION
WHAT DO WE MEAN BY STAIN?
Wood stain is a translucent finish, meant to impart a color that penetrates into the wood to color and highlight the natural wood grain. Wood stain is made to bring out the natural beauty of wood, and thus the wood material itself is a critical part of achieving a beautiful stained finish.
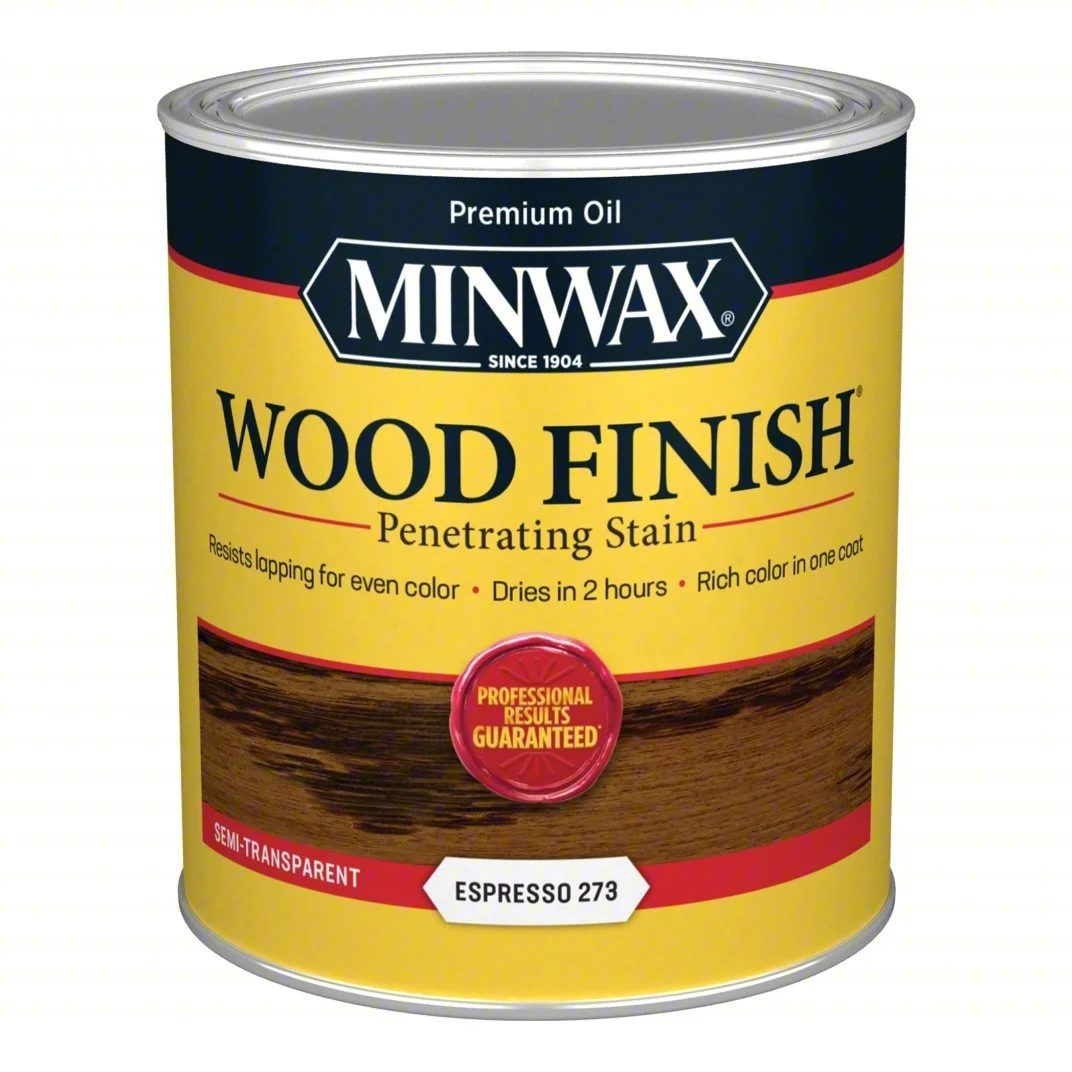
Minwax Wood Finish Penetrating Stain
TOPCOATS
Once a stain is applied, a multi-coat clear topcoat is applied to create a beautiful, long lasting finish. The topcoat determines the sheen or gloss level of the finished product. The most common topcoats are polyurethane and lacquer for interior and spar varnish or wood toners for exterior work. Exterior coatings is such an in depth subject it would be a whole article on it’s own, so we’ll keep it basic for this article.
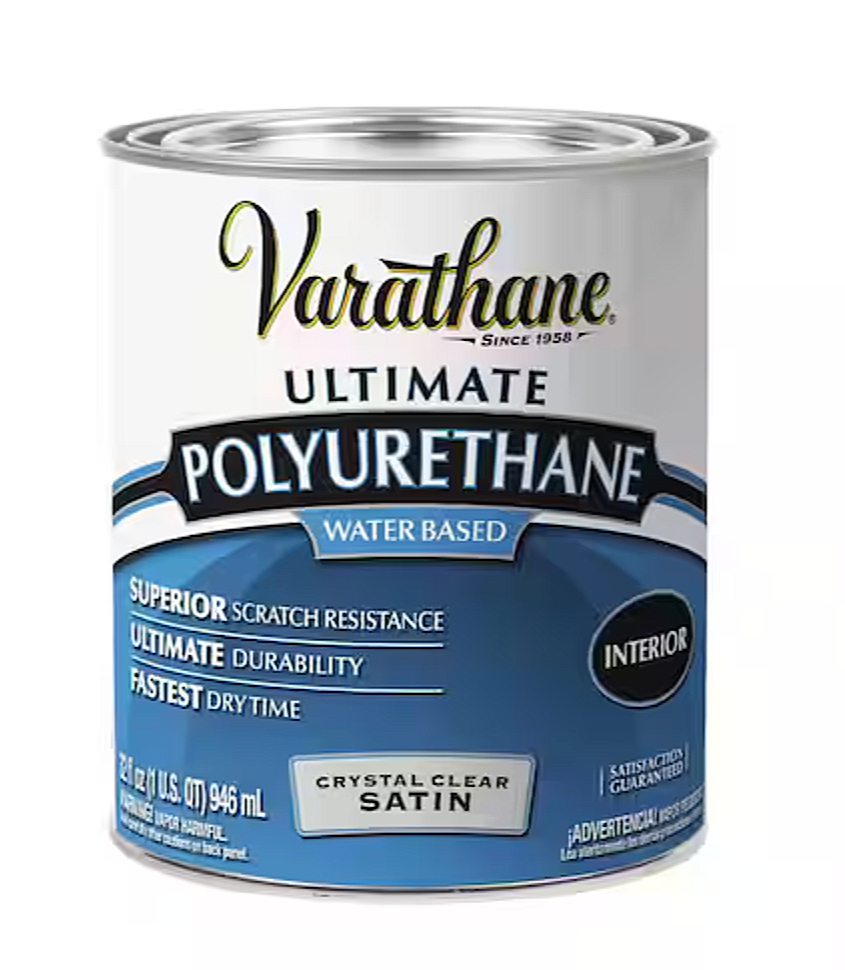
Varathane Ultimate Polyurethane Topcoat
PRACTICAL CONSTRAINTS: MATERIAL SELECTIONS
UNFINISHED WOOD
The decision to paint or stain must generally be made prior to the purchase of construction products. Products made of unfinished wood, clear of defects are referred to as “Stain Grade.” Products intentionally meant to look rustic with knots, mineral stains and fissures can also be considered stain grade. Because you will see the wood through the stain, consideration of wood species
PRIMED PRODUCTS
Surfaces intended to be painted are often purchased primed. This means the base coat of paint/primer is applied at the factory. The primer is usually white or sometimes gray. Primed products cannot be stained, because we understand that stain is translucent. So you can’t apply a wood stain over primed materials.
FINGER JOINTING AND COMPOSITES
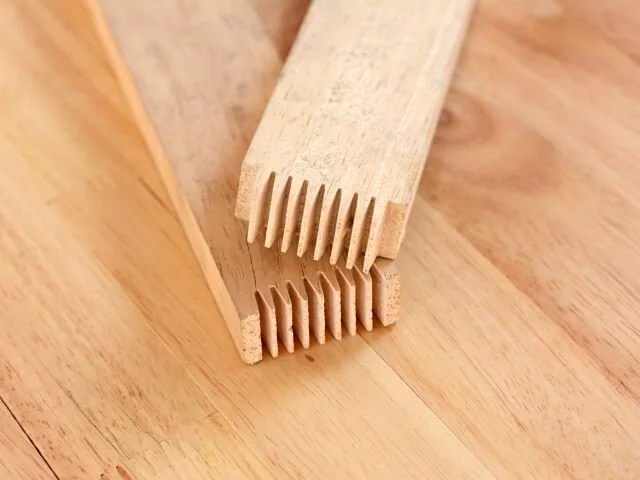
Finger Joints
Most moldings now, and many building components are made of “finger jointed” wood. Short lengths of wood – generally cutoffs of large lengths are milled with a “finger joint” and glued together to form long, regular lengths. This is what allows lumber yards to carry thousands of lineal feet of standard long length molding (usually 16’) despite logs and trees being harvested and cut in various lengths. Finger jointed wood has obvious visual joints, and so are almost always factory primed and are unsuitable for staining. Today’s door jambs are made of a combination of finger jointed and often treated wood, often with the bottoms of composite material. The industry name for this is a “Frame Saver” Jamb, because exterior door jambs almost always rot at the bottoms due to exposure. It’s a terrific upgrade for longevity when the product will be painted.
INTERIOR DESIGN FEATURES
MIXING STAIN AND PAINT FINISHES: JAMBS & DOORS
A popular look is to stain a “stain grade” door and hang it in a “paint grade” primed jamb. The door jamb is the frame that the door and hinges are hung on. Jambs and trims are then painted the trim scheme color of the room and the door is left as an architectural feature and accent. If you want the jambs and trim to be stained as well, it is essential that these components be unfinished “stain grade” wood as well, generally matching in species to the door, or they will look different even with the same stained finish.
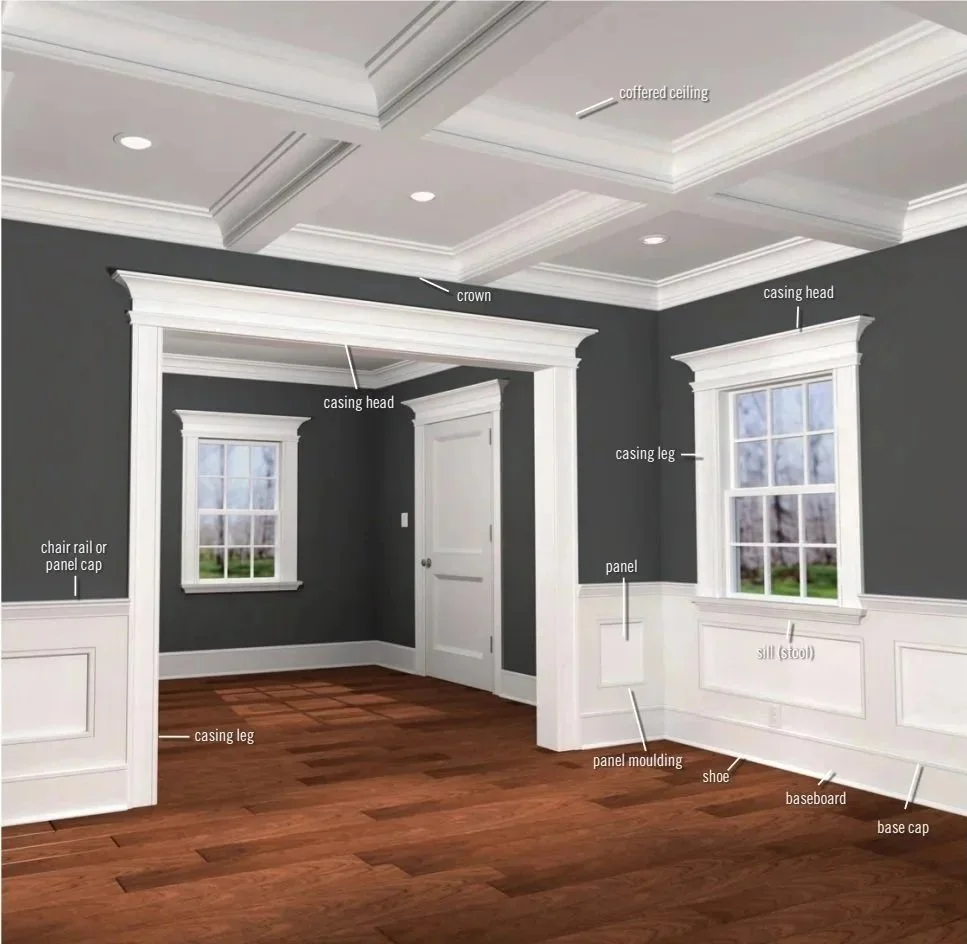
Where do moldings go?
A NOTE ABOUT DOOR MOLDINGS AND JAMBS: If you want to stain moldings applied to an existing door, it may make sense to change the moldings to stain grade, but be sure you consider the door jamb/frame material that the new molding will be sitting on. Replacing moldings is not a high cost, but replacing the door jamb means a full rip out of the door, hinges, moldings and existing jambs.
RUSTIC BEAMS AND FEATURES
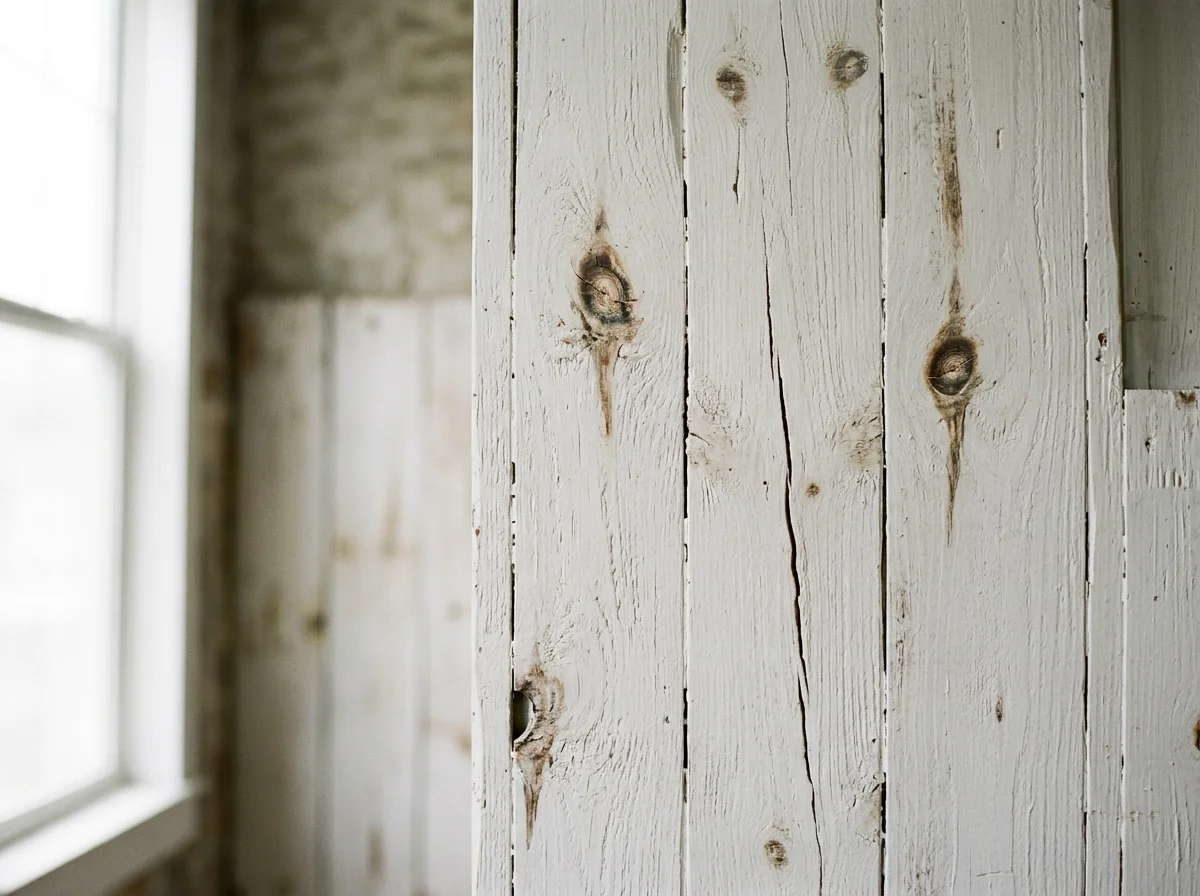
Old wood that has been painted.
Generally “rustic” or sometimes called “Character grade” features like decorative beams or planking should have an oil or stained finish. Materials and wood designed to be rustic, with knots and fissures, or rough sawn surfaces usually look pretty shabby when painted. Perhaps you’ve seen some old knotty pine planking that was painted over, with the knots bleeding through and the tongue and groove joints (made to move with the natural expansion of wood) showing as cracks. This is particularly true when a rustic product is painted in a light color. Holes, knots, roughness and joints turn into defects instead of character.
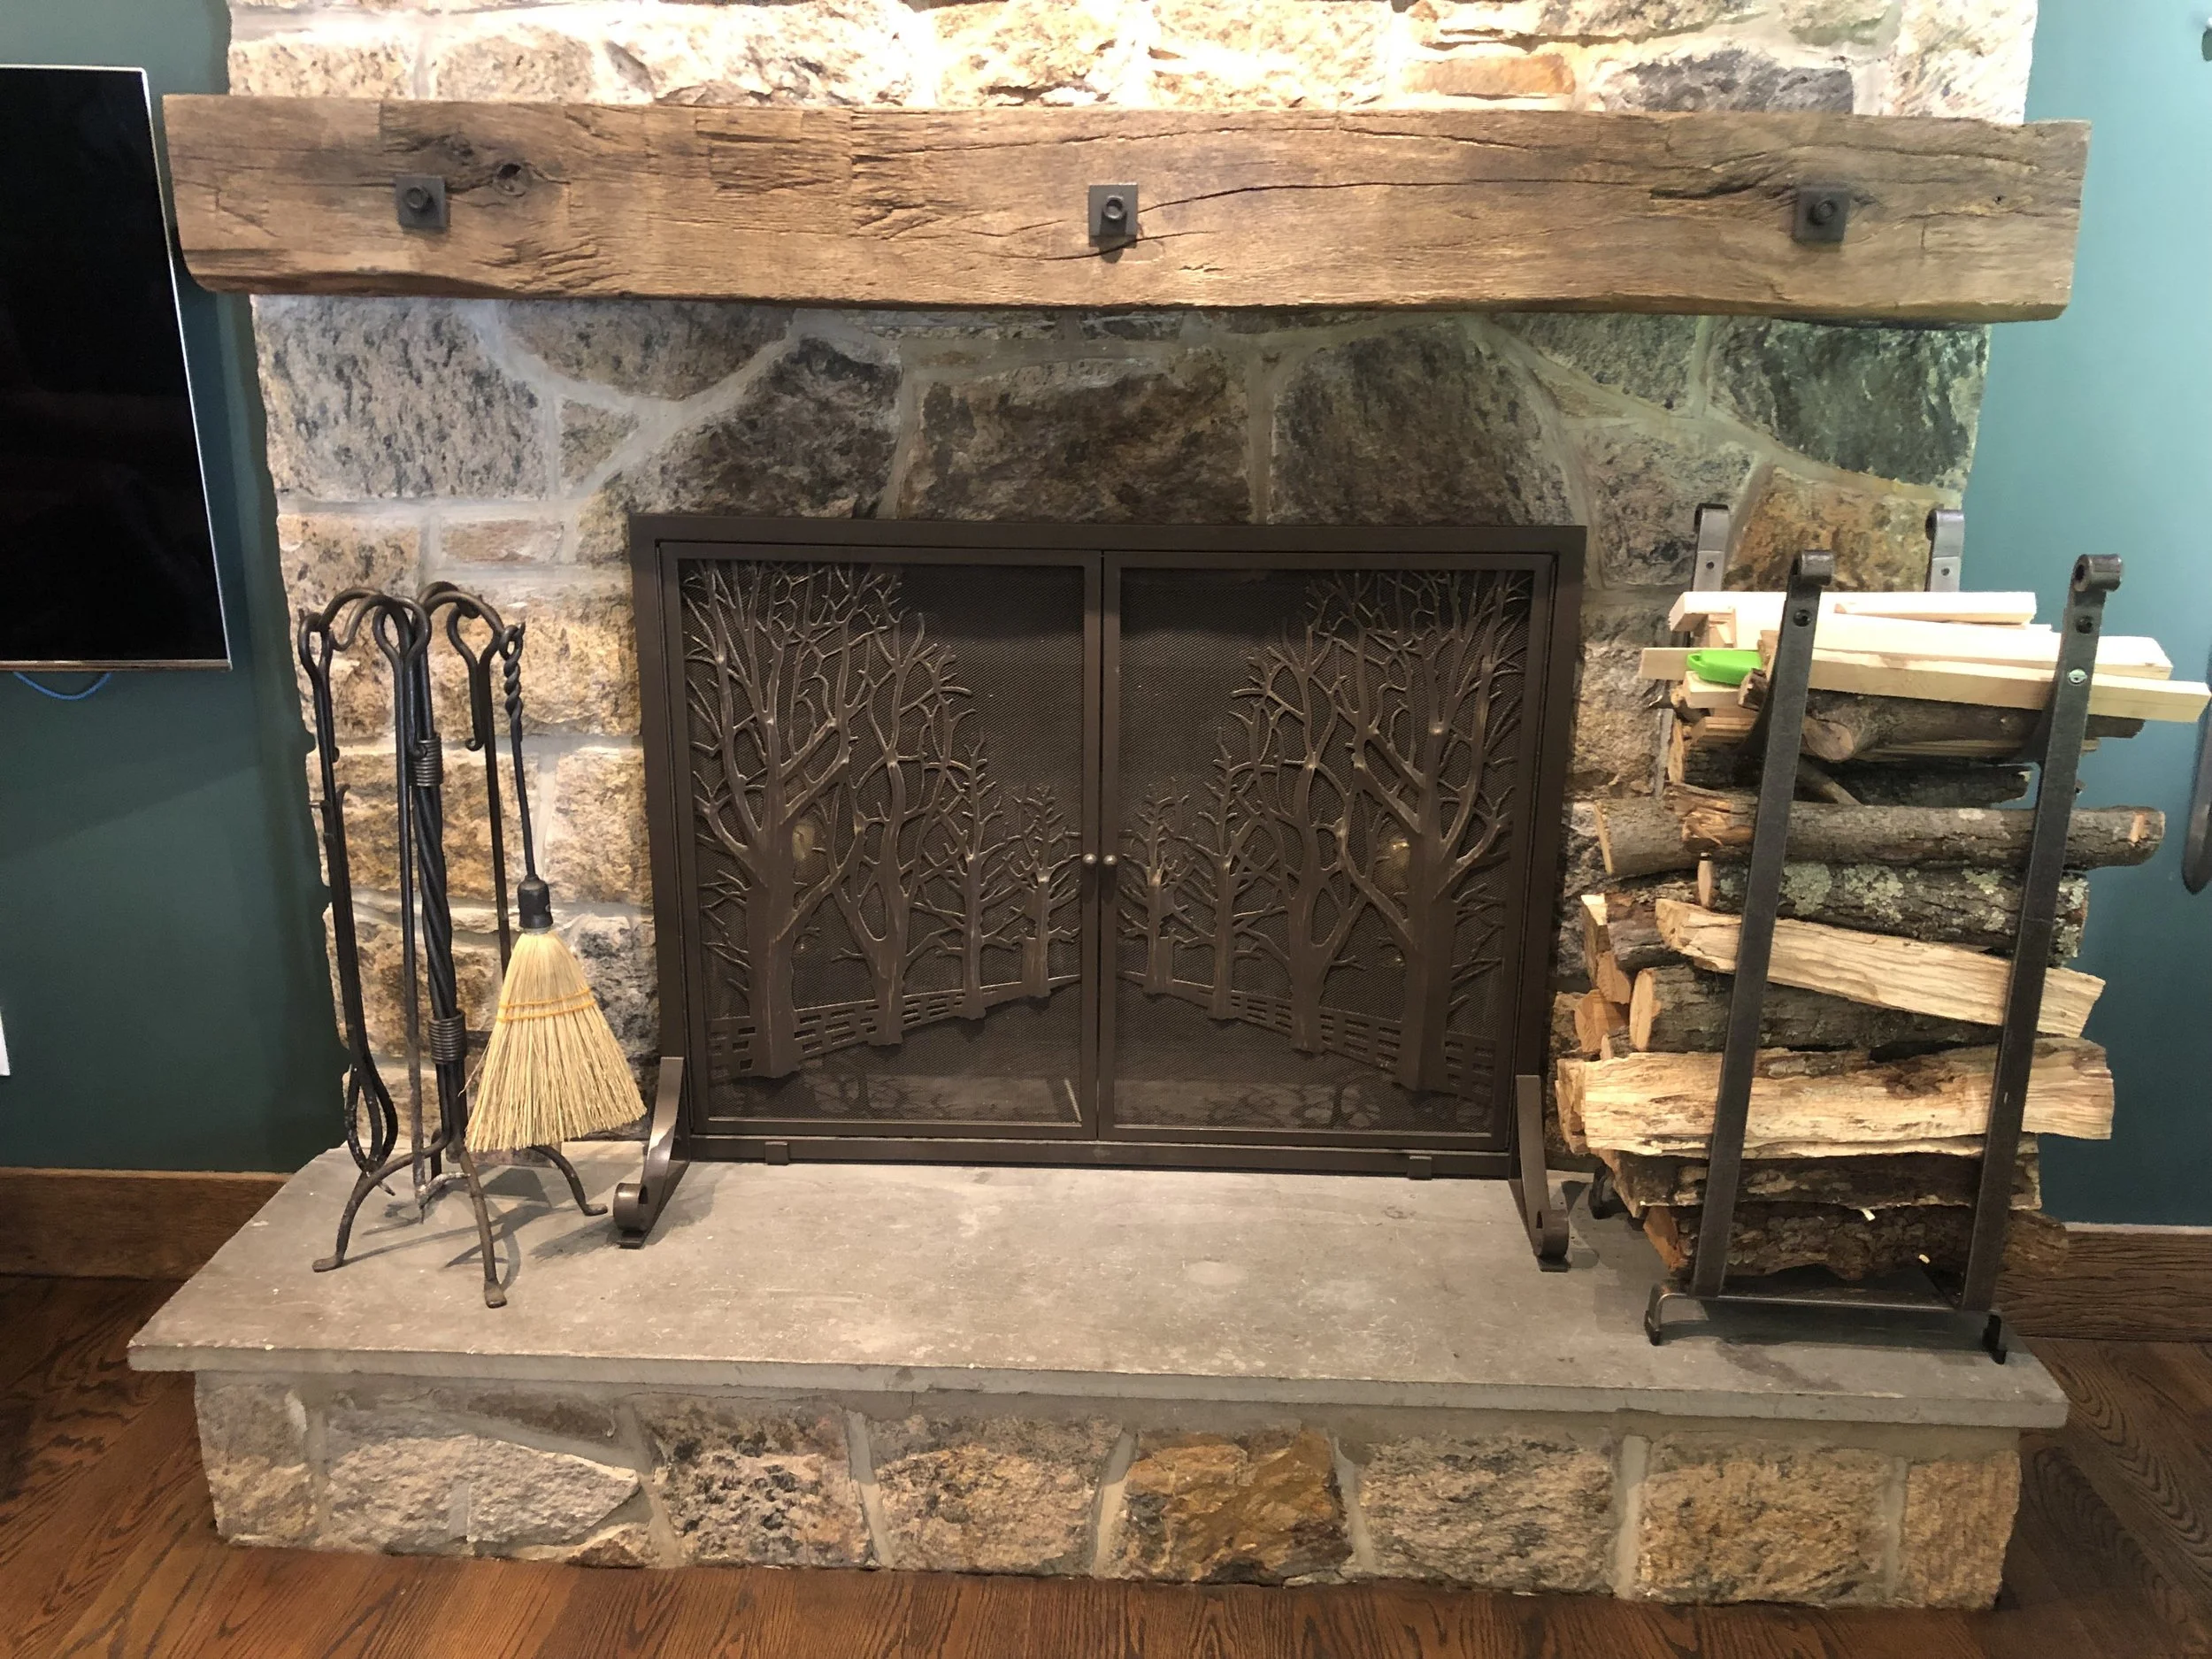
Rustic wood usually looks better with a stain or oil finish
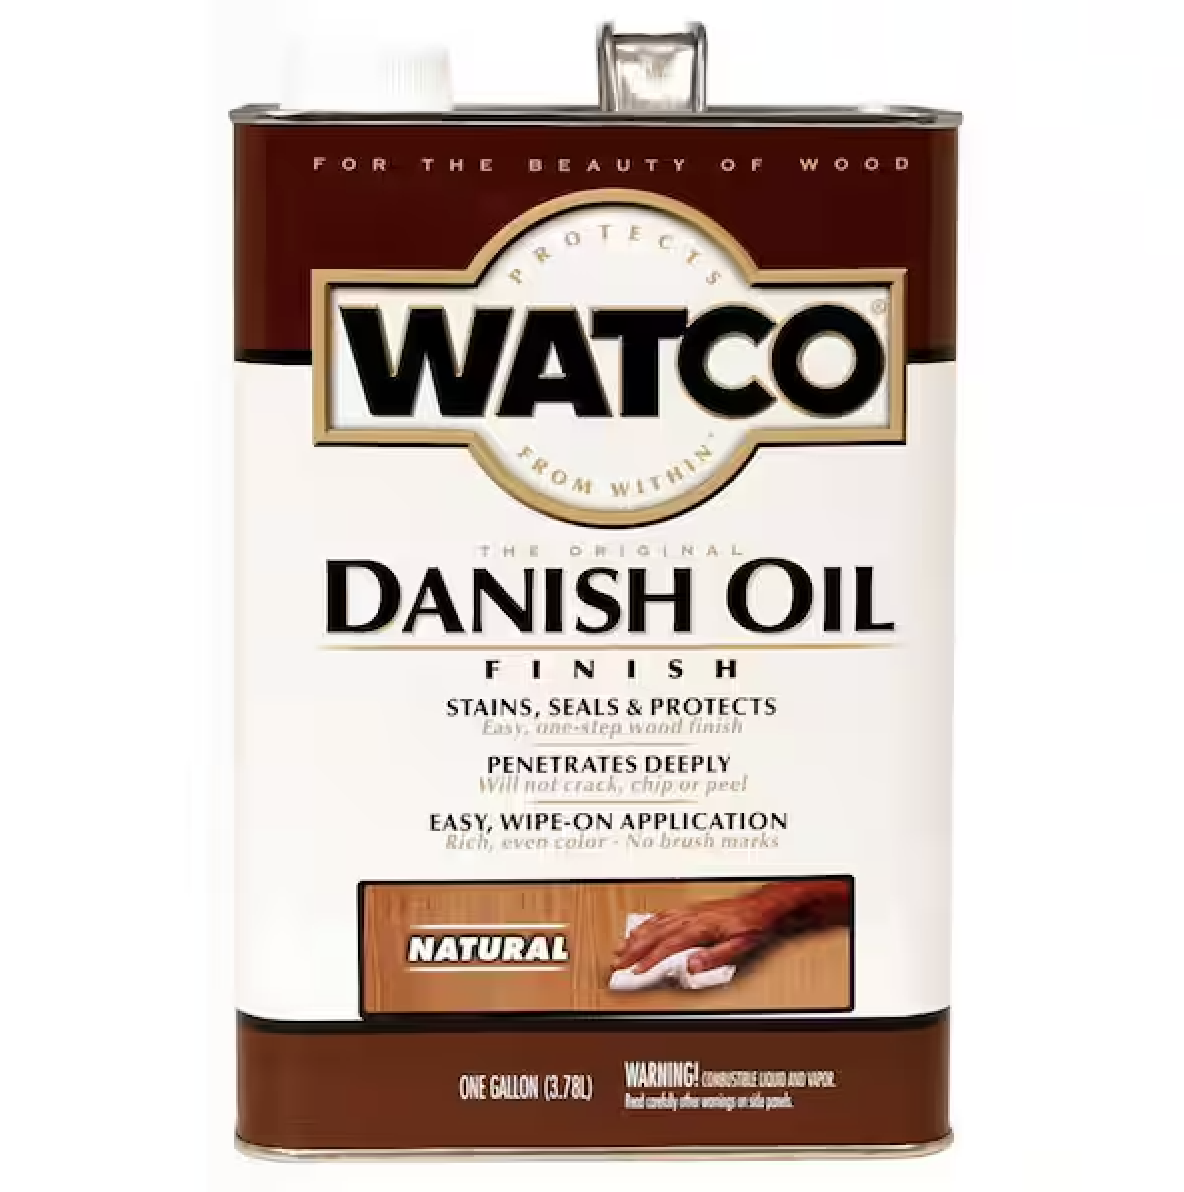
Watco Danish Oil
A NOTE ABOUT NATURAL OIL FINISH: While we’re on the subject of rustic beams, our favorite way to finish rough sawn beams or mantels and other features is with a natural oil finish. This is an oil based finish designed to fully penetrate the wood and not a finish like polyurethane that develops a transparent film on the wood surface. You can purchase oil finishes with some color in them and usually it is a one coat process, with the oil and color penetrating the surface. The beauty of an oil finish on a rustic surface is that it creates no gloss. Nothing will make a beautiful antique beam or piece of lumber look fake more quickly than a gaudy gloss finish. Once gloss has built up it is incredibly hard to fix without sanding off the roughness of the lumber. Ugh!
COMMON QUESTIONS ABOUT STAINING EXISTING WOODWORK
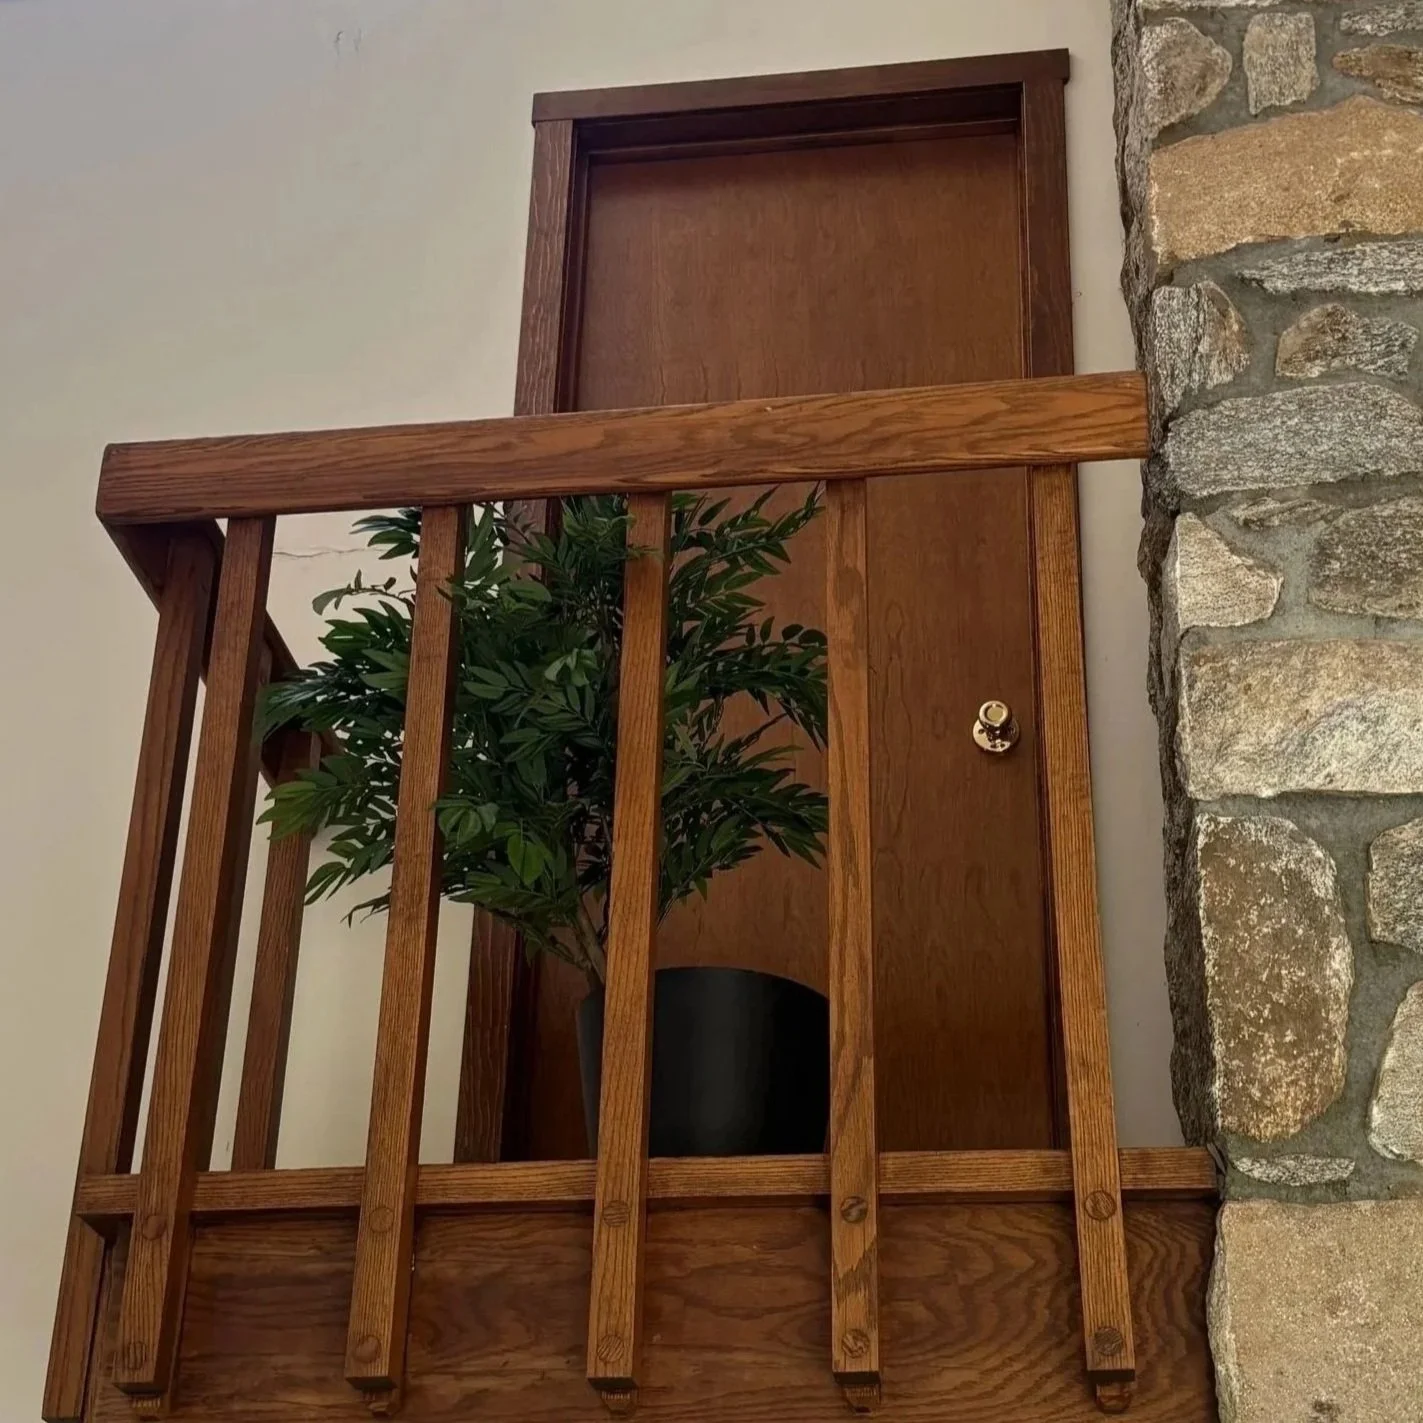
Previously Stained Door
Can I stain previously stained and finished woodwork?
This question comes up a lot, especially when new wood products will be combined in a space with previously installed wood moldings and woodwork with a stained finish. As discussed above, stained woodwork nearly always has a clear, non-porous topcoat. So you can’t apply a penetrating stain over this sealed topcoat.
Exception: There are a couple of tricks we often use to darken an existing stained surface without a massive refinishing project. A careful hand sanding can open the topcoat enough to receive a wood stain topcoat to make it darker. A stain can be applied to darken the finish, followed by a new topcoat. This trick usually requires a bit more knowledge of products and finesse than staining raw wood.
Can you lighten existing stained wood?
Generally, no. Because stain is translucent, it can only add color, not subtract. To get a lighter finish on previously stained wood, you have to do a full chemical or sanding strip of the existing finish. Sometimes this is so labor intensive that it’s more expensive than replacing the woodwork. Stripped and stained wood will usually have an “antique” look, where grooves and nooks and crannies in the wood will be darker. This can be very beautiful and provide a vintage look, but I think it’s important to have the right expectation of this process.
BONUS QUESTION: WHAT ABOUT SANDING?
For those like me who like to “geek out” a bit on a subject here’s a tech detail for you. When natural wood is to be stained, sanding technique and grit is of very underestimated importance! Grit is the measure of how fine the sandpaper used is, and the finer the grit used, the smoother the wood surface that will result. The smoother the surface, the less porous the wood and the less stain will be absorbed. This means that stain grade wood must be sanded uniformly and that smoother is not always better. A skilled woodworker and finisher knows what grit is the best final grit (often 150 grit) to provide a smooth product with enough “bite” to get a rich stain color. On oak hardwood floors, a slightly courser grit is usually better for a rich color and for the best bonding of the topcoat. Because stain color is affected by smoothness, an uneven sanding job is a nightmare for staining. I’ve seen carpenters sand the mitered areas of molding to create a perfect miter, and when you are painting, this is fine. But if you are staining whatever sanding you do to the mitered area of the molding MUST be done to the whole molding. When doing extensive stained woodwork, I watch my sanding crew like a hawk!
WHAT WOOD SURFACES CAN BE STAINED?
| WOOD SURFACE | STAINABLE? |
|---|---|
| Raw / Unfinished Wood | ✓ Yes |
| Primed Surfaces | ✕ No |
| Finger-Jointed Moldings | ✕ No |
| Painted Surfaces | ✕ No |
| Previously Stained & Finished Wood | ✓ Yes* |
| Fully Stripped Wood | ✓ Yes** |
* Generally can only be made darker.
** Can have an "antique" or distressed look.
MATCHING EXISTING FINISHES
When adding new features into a space, for a design to look and feel cohesive, existing finishes must be considered:
Are the existing window interiors painted or stained
Are the existing window casings (moldings) painted or stained – they don’t always match the window frame itself. This can be okay if it is consistent
Are the existing door moldings and JAMBS stained or painted? (See door jamb and molding discussion above)
Are the existing baseboard moldings painted or stained
Remember, surfaces touching each other must look in agreement. So when your stained casing touches your painted baseboard at the bottom, will it look right? This means you’ll even have to consider the actual paint and stain colors. I’ve seen homes where the doors and door trims are stained and the windows are painted, and this can look fine if it is consistent and the colorways are complimentary
Conclusion
The goal of this article isn’t to push the reader to paint or stain their interior woodwork, but rather to help make an educated and practical decision. Many of us are renovating existing spaces, replacing only certain design elements. So the design choices should assure existing and new finishes are in harmony. Material selections in the design phase will determine which finishing options are possible, so finishes must be considered during product selection.